

Off The Grid Gear
Off The Grid Gear
As a landscape photographer, as you start to become more and more experienced one important questions starts raising it’s head. It’s a decision that can be more important than any other. And that decision is “What camera equipment do I take with me?”
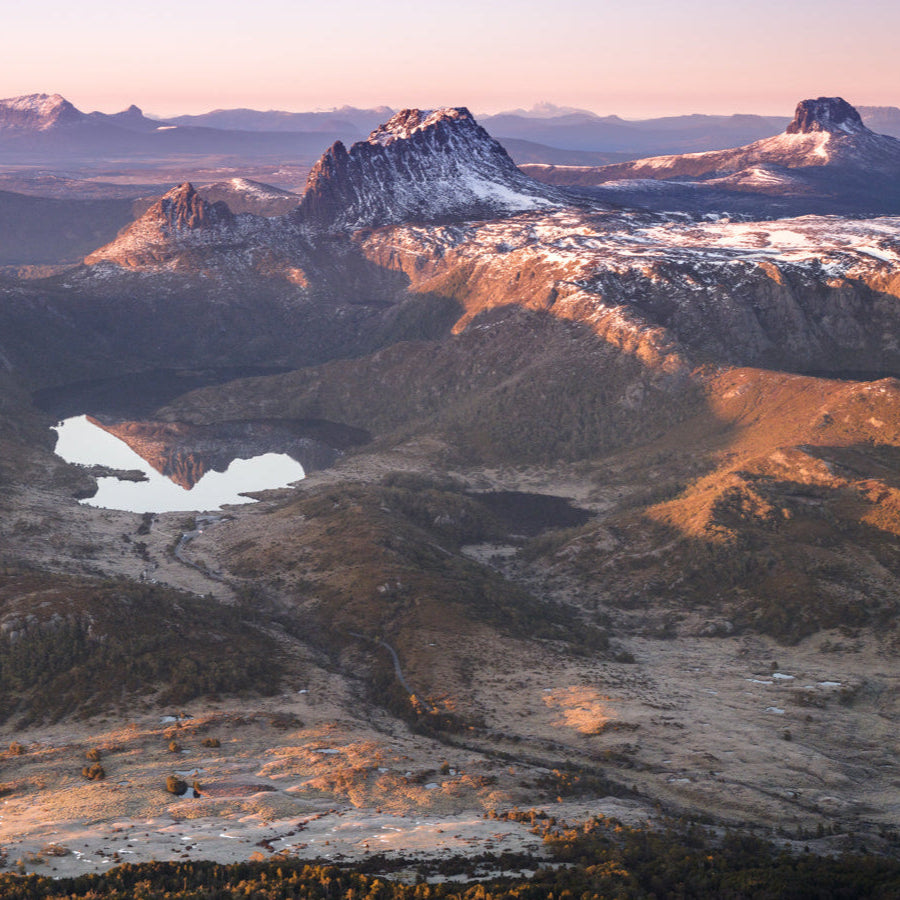
Each year here in Tasmania I head out on the tracks and hike hundreds of kilometres around this incredible island. From the world famous 6-day hike on the Overland Track, to more off-the-beaten-path hikes through the wilderness of Tasmania, one thing always pops up as one of the most important questions… which camera do I take? This is particularly important for landscape shooters as you’ll often have to be lugging your gear far further and exposing it to harsher conditions than most styles of photography require.
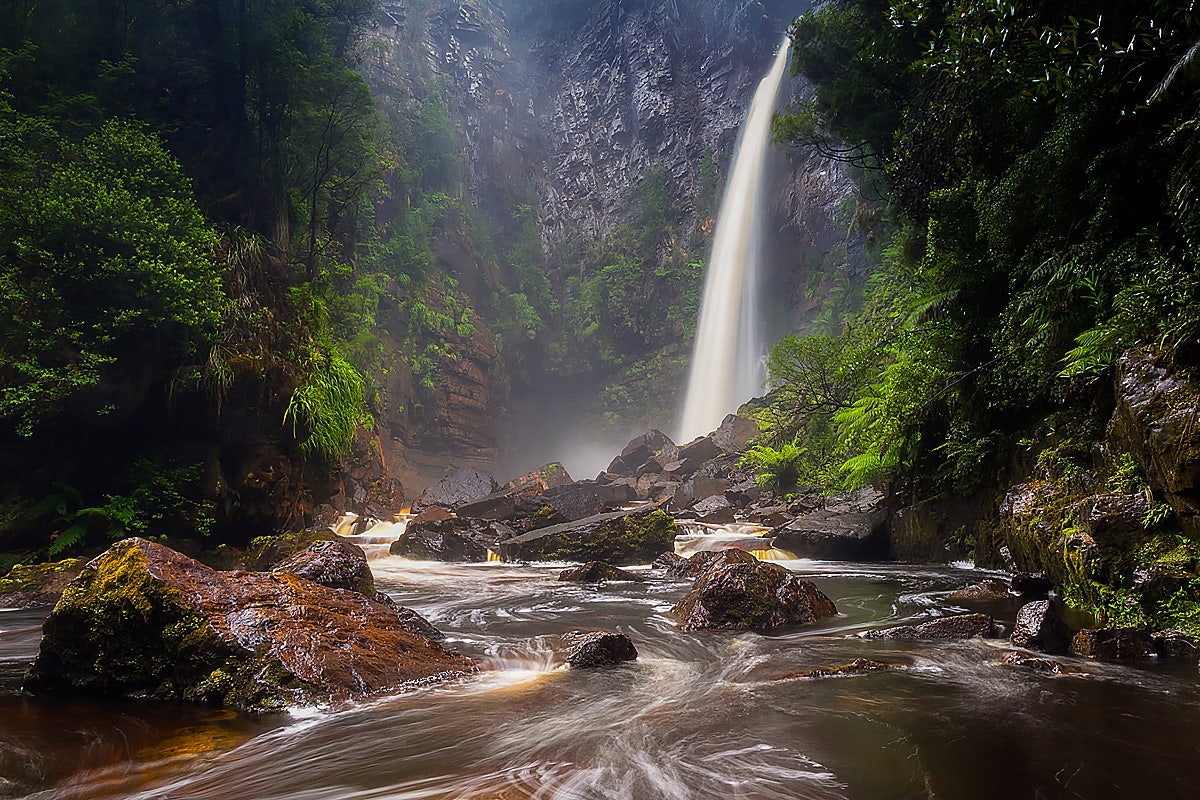
Reynolds Falls in Tasmania.
When considering which camera equipment to take whilst out hiking there are few important things to take into account. I break these decisions down into the following categories;
- Weight of the camera gear – including all lenses, bodies, tripods, filters, batteries, etc.
- Which lenses do I actually need take to get the images you want to capture?
- Weatherproofing. Hiking and exploring off the beaten track usually mean you will be faced with all levels of weather conditions. Can your camera handle them? Or will the camera be packed away most of the time to avoid damage?
- How do I carry my gear? There are a few different ways to hike with your camera gear safely stored, but ready for quick access
- And lastly - in the case of someone like myself that has multiple different camera systems - what quality do I need for this adventure? Am I on assignment for a client or am I exploring just for my own library of images?
We’ll break these decisions down so that you can hopefully make a more informed choice for your next hiking adventure.
Weight
For me this is the most important decision when out hiking off the beaten track. I have spent many years trying to find camera gear that is lightweight but still offers excellent quality. Hiking with heavy gear can really take away from your enjoyment of the freedom of hiking. Many times I have walked with or hosted people along the Overland Track who have heavy, full frame DSLRs. This doesn’t usually go very well and sooner or later they become grumpy and annoyed with their gear. I find that the heavier the gear, the less you use it.
Why is this? In my experience the heavier the gear the more likely it will be stored in a part of your bag that requires some effort to get to. Alternatively you will tend to have lenses stores away separately and therefore will need to stop frequently to change lens and take your photos. Lightweight cameras are much easier to keep easily accessible on your person, and I find that makes them much easier to utilise more often. It means that no photographic opportunity is ignored simply due to the frustration of having to stop and unpack your whole kit. You can usually have quick and efficient access to your camera so you can capture the images you see as you walk along.
 |
 |
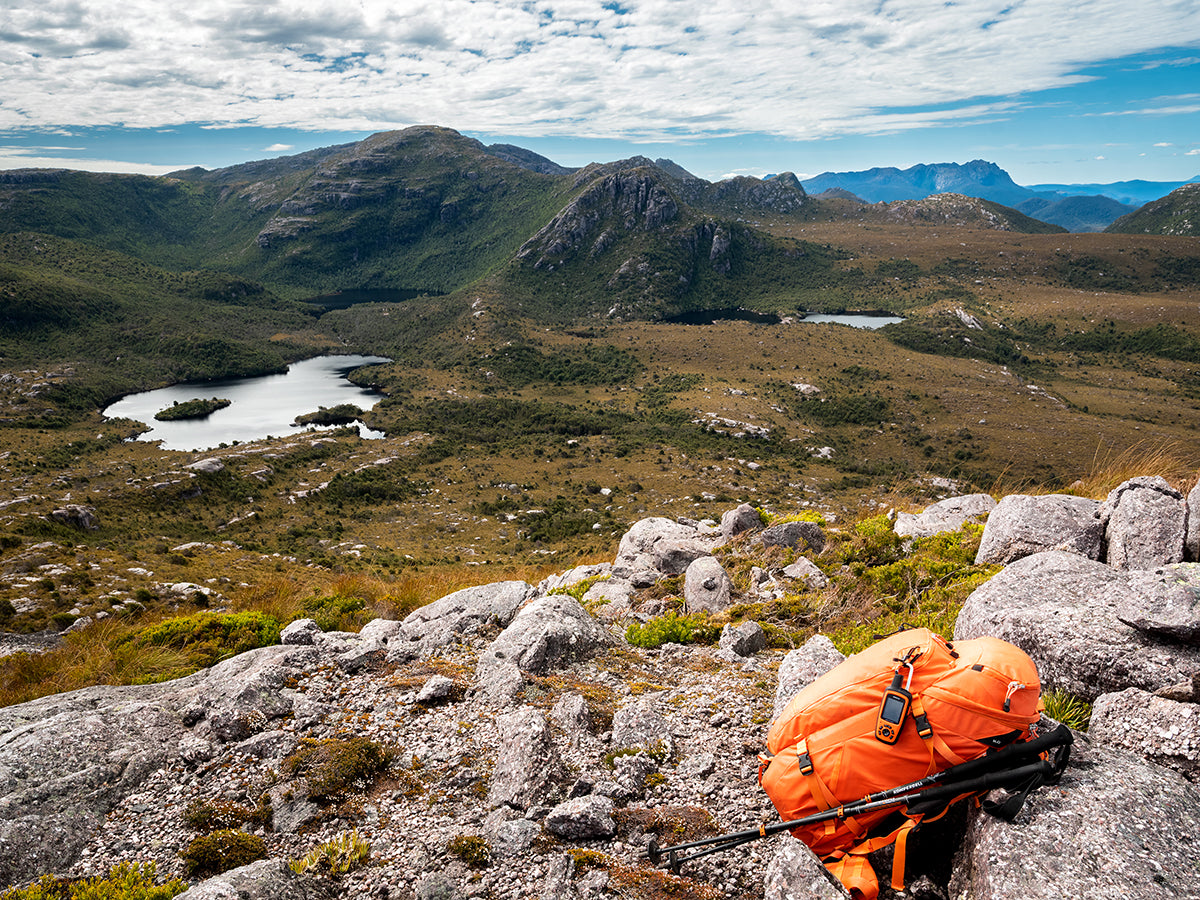
Left: An image taken on Tasmania’s popular Overland Track
Lenses
The next important decision I find myself fighting with every time is what lenses to take with me. Do I need just a wide-angle lens? Do I need something a bit more telephoto to get right into my scene? Lenses are so easy to pack away and take with you, but I always advise my clients not to bring it if they think they will only use it once. If that’s the case it’s just not worth packing! I suggest trying to source lenses that will cover a lot of your range you intend to shoot. Versatility is key here. Lightweight zoom lenses similar to a 24-70mm will cover wide angle shots as well as give you some distance when shooting into a scene.
Another advantage of a lightweight system is that it comes with lighter weight lenses. For example, my Olympus system has much smaller lenses than a full frame DSLR. This means I can take 2 or 3 lenses for every lens I would bring if I had a DSLR. As a result, I either have more flexibility to bring more lenses, or I can choose to keep it lean and run with an incredibly lightweight system. This is a huge benefit for me as a hiker. I can take focal ranges from super wide angle to 200mm equivalent lengths, and still be under the weight compared to if I was carrying a DSLR kit with similar focal lengths.
Weatherproofing
Another very important aspect of my camera kit is weatherproofing. When you are out in the wilderness you don’t get to choose what the weather does. You are at the mercy of Mother Nature and what she wants to throw at you, and your camera gear has to be able to handle this. You will find most cameras now have very good weatherproofing of their cameras and some lenses. In my opinion there are a couple of brands that do weatherproofing better than the others, but I consider any weatherproofing to be better than none at all.
Personally, I find that brands like Olympus, Sony and Fujifilm probably have the best levels of weatherproofing. In my opinion, you should be able to shoot with your camera in all weather conditions, from dry & dusty to cold & wet. A camera shouldn’t be a hindrance on you capturing the moment. That being said, it is still very important to ensure you have some cleaning clothes or similar on your hiking journeys. This will help with cleaning and drying your cameras after each weather event. Look after your gear and it will look after your images.

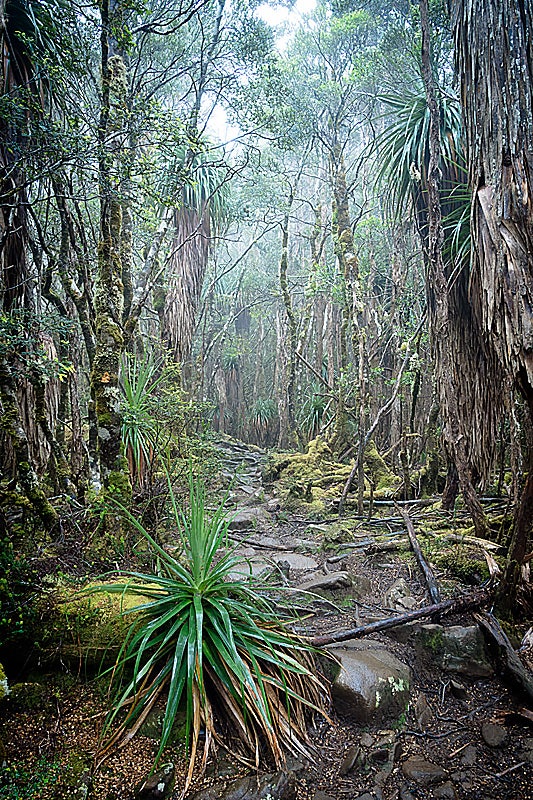
Dealing with wet or dusty conditions means you’ll need a solid weatherproofing system!
How to Carry Your Gear
So, you’ve chosen your gear and are all packed up to go on an incredible adventure. But where do you store or carry your camera gear as you walk? You want to be as comfortable as possible as you walk even though you may be lugging as much as 25kgs of weight in your hiking pack. You don’t need to make things more difficult or awkward when walking along and trying to access your camera. This is a topic that I have pondered, tried, tested, changed my mind on again and again throughout my 20-year hiking career - where the bloody hell do I put my camera!?
Over the years I have tried to pack the gear in my hiking pack, strategically packing my camera at the top in order to get the best access to my gear. I have used camera bags slung around my shoulder to have side access, only to find it caught almost every branch along the way. I’ve tried just walking and holding the camera in one hand…which ended with a dropped and broken lens and camera. I then found out about some pretty cool bags from F-Stop and was super excited to use these bags for lesser distance hikes. These bags work perfectly and allow you to carry your gear, hiking and camping equipment and still get easy access to your camera. For 2-3 days hikes I use the F-Stop Sukha bag– this is one of their larger bags and allows for loads of space to carry camera gear and everything else.
For longer week-plus hikes I have found the best set up for me is to use a snoot case, like the Lowepro Toploader Zoom range. Using the triangular snoot cases and a couple of carabiners, I can hang to my hiking pack so that it sits in front of my chest. This works fantastically and allows instant and easy access to my camera on the go.
This is part of your set up that can take some fine tuning and some amount of personal preference will come into play. It’s worth experimenting with though as when you get a set up that works, you’ll know it. You will be comfortable, have ease of access, and you WILL take more images as you hike along.
Experiment with ways to carry your gear until you find something that works for you
Quality Required
Last but by no means least is the quality you can achieve from your camera whilst out in the wilderness or off the grid. There is a fundamental question when it comes to how many megapixels you need to create beautiful images. However, I’m sure you’ve heard the saying ‘the best camera is the one you have in your hand.’ Skilful photographers will capture beautiful images regardless of what camera they use or how many pixels that camera can shoot. So don’t get too held up on megapixels. When you are packing and weighing up your gear to head out into the wild, the last question in your mind should be ‘how good is the quality of the image I will get?’ In my opinion and experience the quality comes from the photographer, not from their camera. There is not a single camera out there that can substitute for timing, composition and preparation!
I have captured some very beautiful scenes in my time spent hiking all over Tasmania, and not once have I returned to civilisation and thought about the camera I used. All I remembered was the scene, the time and the enjoyment of being in the wild nature.
To conclude, in my experience the best way to enjoy your adventures and take better images along the way is to find a lightweight system that maintains a good level of quality, has good lenses and features weatherproof construction. Battery life is also an important aspect that I haven’t touched on - you don’t want to be weighed down with 15 batteries. Even better is if you can find a camera that can charge via USB as you can take a portable power bank to charge your camera.
Many manufacturers design cameras that can meet these requirements, but I’ve found that Olympus, Sony and Fujifilm camera systems tend to particularly excel. They all have an emphasis compact size without sacrificing performance and quality. For the most compact option, an Olympus system like the E-M5 III or E-M1 II is the way to go. For the full frame shooter the Sony A7 III is a fantastic option, but note the weather sealing is not quite as extensive. The Fujifilm X-T3 sits nicely in the middle, with good weather sealing and an APS-C sensor, while still being relatively small.
Overall, it’s a tricky balance but once you find the right setup you’ll know, and so will your shoulders!
Leave a comment